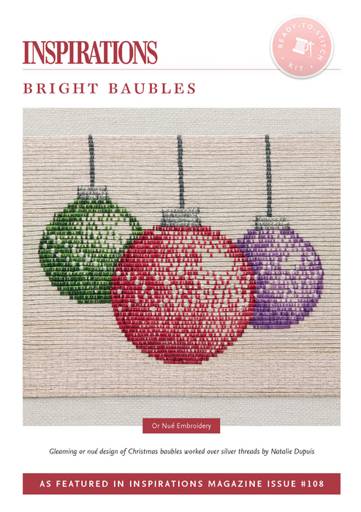
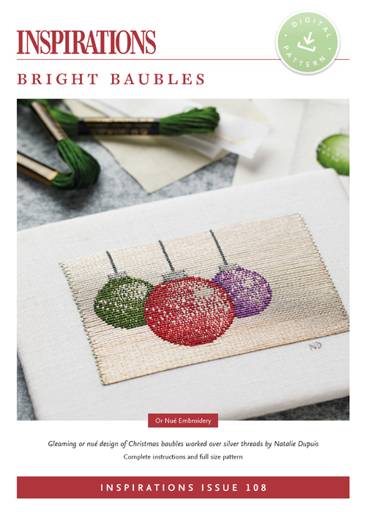
Bright Baubles by Natalie Dupuis
11TH DECEMBER 2020 - ASU #264
Whenever you look at a gorgeous project in Inspirations magazine, you might find yourself wondering what process the designer has gone through to prepare the design for publication.

While we all get to view and enjoy it in all its finished glory, the creation of a project requires a lot of thought, planning and work.
Natalie Dupuis, one of our regular contributors from Canada, gave us just a little bit of insight when she delivered her fabulous project, Bright Baubles, to us as we were putting together Inspirations issue #108.

It is a fascinating exercise to learn how she works and the steps she took to bring this project to life and communicate to us everything we needed for inclusion in the magazine.
Natalie, as you can probably tell, is an artist with many talents. As well as being a beautiful embroiderer, she can draw, paint and take exquisite photographs, all of which combine to produce the kinds of projects we enjoy in the magazine.
 (source)
Bright Baubles began life as a pencil sketch. Working out where the light and shade landed on a shining sphere was essential to providing Natalie insight into where to place her stitches when she finally took up her needle.

From an understanding of the shading, Natalie then turned her thoughts towards colour. Here, Natalie took up her brush and her watercolours and producing a painted version of her design.
By using paint, she was able to capture the nuances of the shading on each of the three baubles which in turn enabled her to colour match the DMC threads she would later use in the stitched version. Her painted facsimile also provided the scale and depth which are so important for the final piece.

With her artistic sampling and planning complete, Natalie then chose her fabric and started to employ her knowledge of or nué to translate what she had already drawn and painted into a traditional goldwork medium.

She began by transferring the design on to the linen to act as the guide for her stitches. This included drawing background guidelines, as the couching stitches on the background need to be evenly spaced to ensure a neat uniform finish.

This is a tiny detail, but it definitely stands as the difference between a good design and a great design, the latter of which Bright Baubles truly is.

With the background drawing in place, Natalie finally starts stitching. Fortunately, her skill with a camera meant that each step in her stitching was beautifully documented, showing exactly where the needle comes up and goes down, exactly how the design is worked using multiple threads simultaneously and the precise way to sink the gold threads and secure them along the back.

There is no doubt that Bright Baubles is a glorious project for Christmas and provides a wonderful introduction to the technique of or nué.
However, when you add in the knowledge of just how Natalie arrived at this design and what went on before it adorned the pages of the magazine, it offers a deeper appreciation of the project in so many ways.

Even we, at times, believe that our designers must be magic to produce the kind of work that they do. And when we consider the amount of work and the sheer number of stages that each of our talented contributors go through in order to arrive at their finished pieces, we think you’ll all concur; we’re very grateful and appreciative of all that they do.
Make Your Own Bright Baubles

Step 1 – Purchase Project Instructions
Bright Baubles by Natalie Dupuis is a gleaming or nué design of Christmas baubles worked over silver threads.
Step 2 – Purchase Ready-To-Stitch Kit
The Inspirations Ready-To-Stitch kit for Bright Baubles includes everything* you need to re-create this gorgeous design: Fabrics (unprinted), embroidery threads and needles.

Kit
Bright Baubles - i108 Kit
Shop Now*Please Note: To cater for flexibility of purchase, instructions are not included with our kits. For step-by-step directions on how to create this project, please refer to the magazine/digital pattern.


